The art of construction is a project we did where we could only use a straightedge and compass to create geometric shapes and make an art piece. We started by taking the required shapes from the list and adding ones that we saw fit. We then had to make a very rough sketch of what we wanted the piece to look like. After we completed that we had to create a better quality sketch and plan our final art piece. Our final art piece was to be our best quality work and included all the shapes and color.
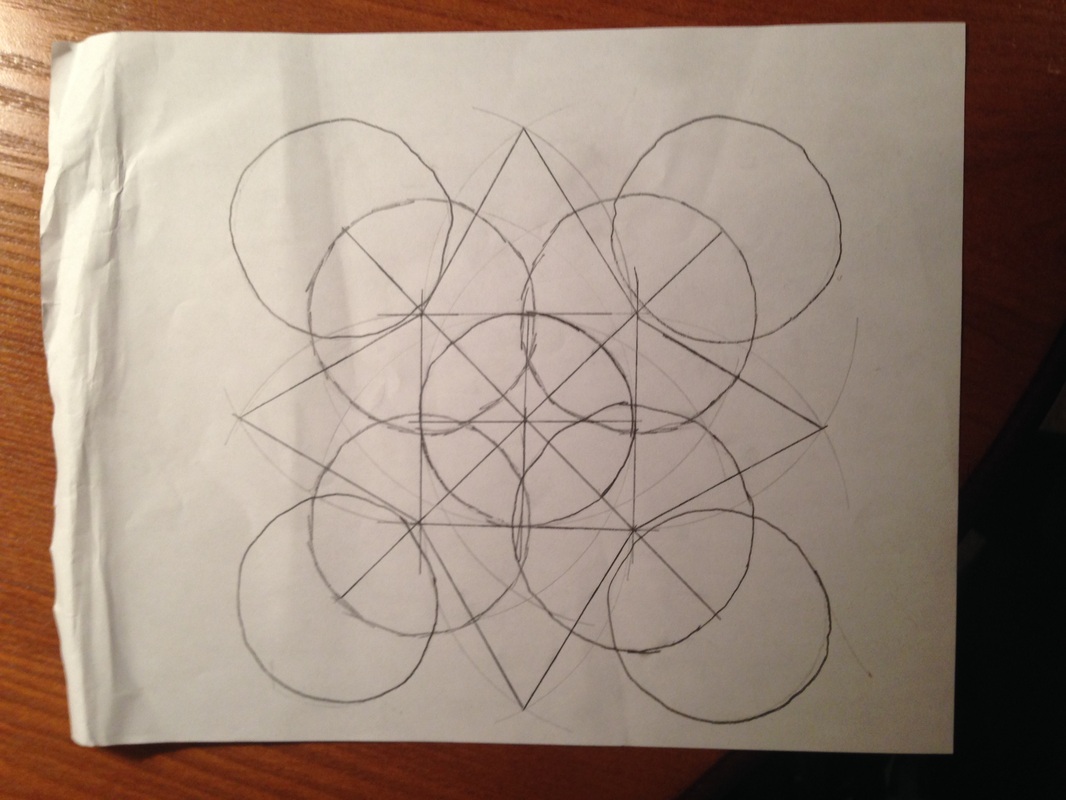
Benchmark 1 involved selecting the shapes we wanted. The required shapes were a square, equilateral triangle, regular polygon (pentagon, hexagon), a circle, and a rosette (flower petal). After we added any shapes and lines we wanted to that list, we could start sketching. The 1st sketch was very rough and it could be done on lined paper or scrap. We then thought of any revisions we wanted to add to our benchmark 2 image. I chose the image I did because it was very abstract and included a lot of circles and lines.
Benchmark 1 involved selecting the shapes we wanted. The required shapes were a square, equilateral triangle, regular polygon (pentagon, hexagon), a circle, and a rosette (flower petal). After we added any shapes and lines we wanted to that list, we could start sketching. The 1st sketch was very rough and it could be done on lined paper or scrap. We then thought of any revisions we wanted to add to our benchmark 2 image. I chose the image I did because it was very abstract and included a lot of circles and lines.
Benchmark 2 involved making a more detailed and better quality sketch of our design. You had to use white paper and create a professional design using the compass and straightedge tools. In this benchmark you needed to show all construction marks too. Construction marks are marks you make to tell the straightedge where to draw the line to create an equilateral triangle or other shape with straight sides. You had to show all of your construction marks and how you made the shape. For example, to find the center of the paper, you couldn't fold it. You needed to show the construction marks on where you placed the compass and straightedge and how you found the exact center of the paper.
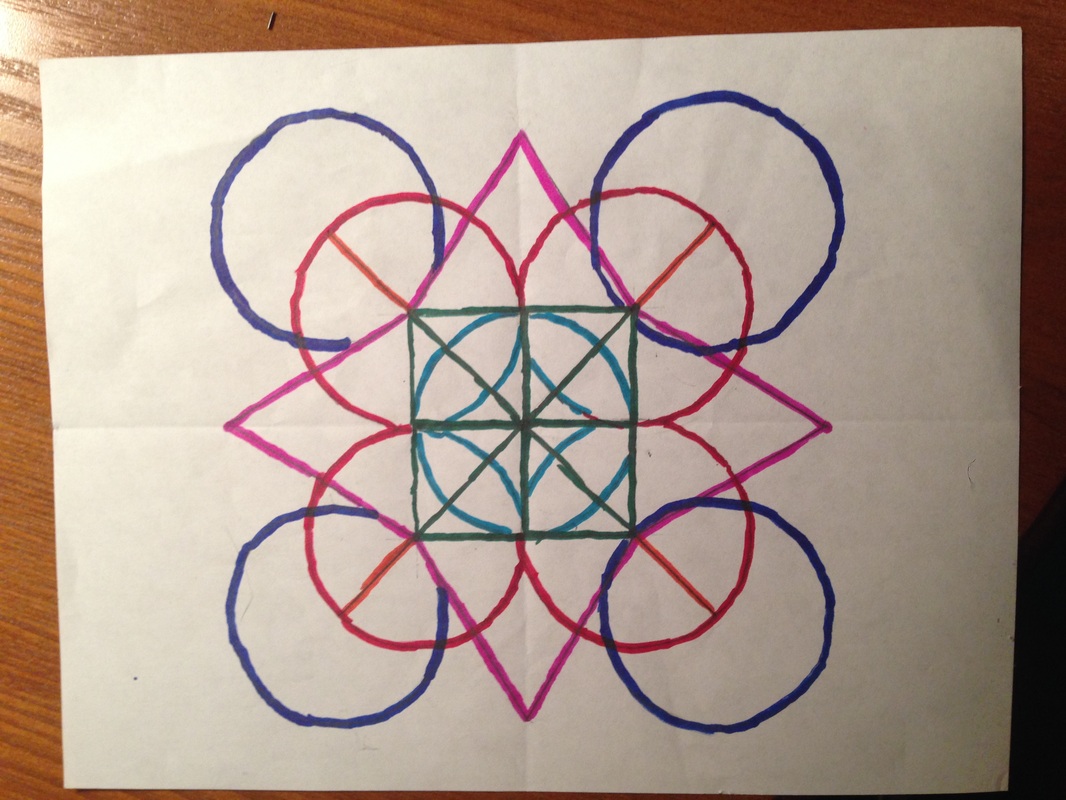
To create my benchmark 2 you must start by drawing 1 circle in the center. After you have drawn the circle, draw straight lines around it to create a square. You can erase the stray edges and then draw lines connecting the square from the corners, and top to bottom. After that you take your compass and draw circles on the outside of the square, with the center being the vertex of the square. Draw a circle on each vertex. After that is finished, extend the lines on the corners to go through the circle. Expand the compass to line up with the square and make an equilateral triangle above it. Repeat this for all 4 sides. Where the lines extend through the circle, take the compass and draw a circle around the point where the line and circle meet. Do this for all circles and you are finished.
Benchmark 3 involved creating an art piece and making it beautiful work. You first had to think of an art piece to make. This was probably the hardest part because it had to be creative and incorporate your sketch and color. You then had to decide your materials like paper or canvas or whatever you wanted to do. You then could start on your creative piece. The options for the piece were virtually endless. For my piece I chose to draw out my sketch on blue paper. My piece is an example of beautiful work because it is simple yet complicated.
Benchmark 3 involved creating an art piece and making it beautiful work. You first had to think of an art piece to make. This was probably the hardest part because it had to be creative and incorporate your sketch and color. You then had to decide your materials like paper or canvas or whatever you wanted to do. You then could start on your creative piece. The options for the piece were virtually endless. For my piece I chose to draw out my sketch on blue paper. My piece is an example of beautiful work because it is simple yet complicated.
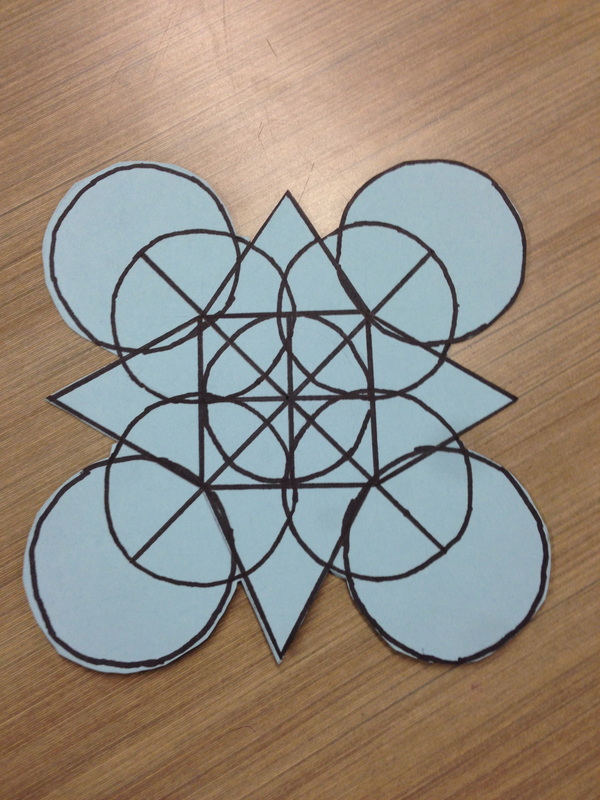
A success in this project was finding an image to use, because usually I have a hard time thinking of ideas. A challenge in this project was figuring out all of the constructions to make the shapes I wanted. This was a challenge because I couldn't just draw them freehand like I am used to. An obstacle in this project was finding the center of the paper, but I overcame this by cutting out the design so it was all centered. A habit of a mathematician I used during this project was the staying organized habit. This helped me because without it I would have lost all of my places and compass lengths. If I were doing this project again, I would have chosen a more complicated design.
